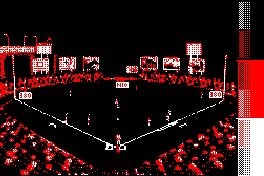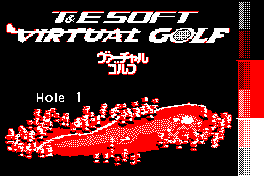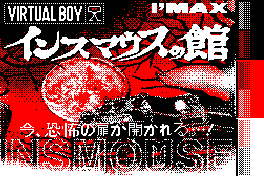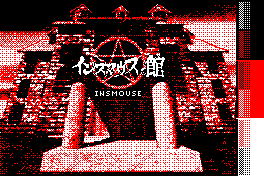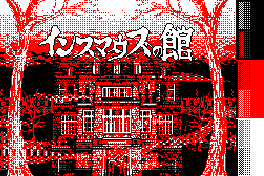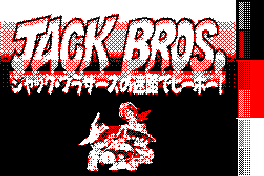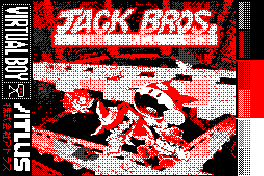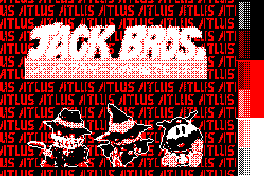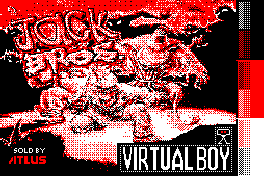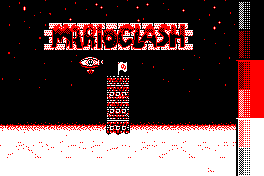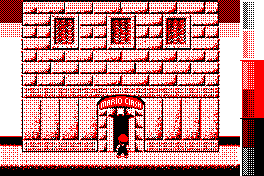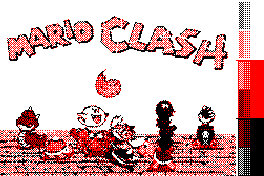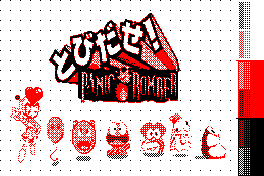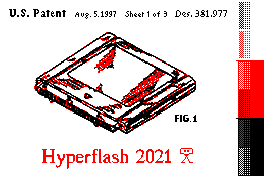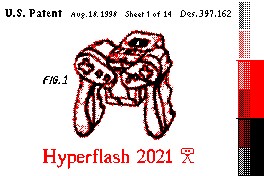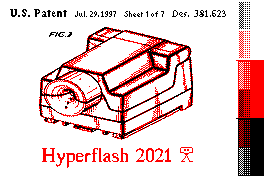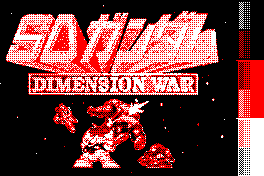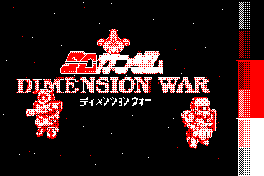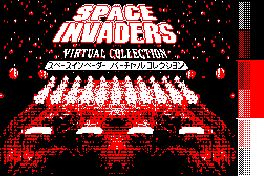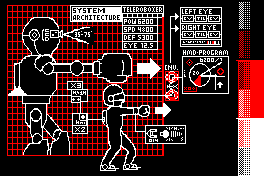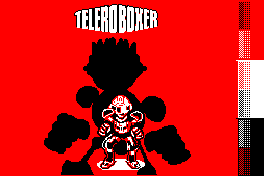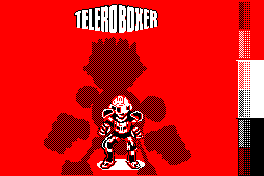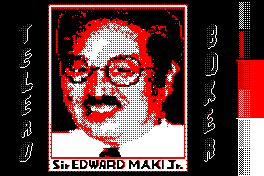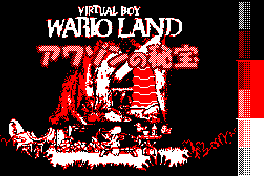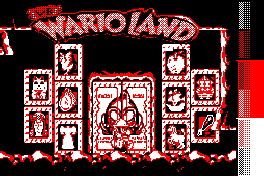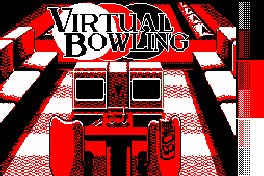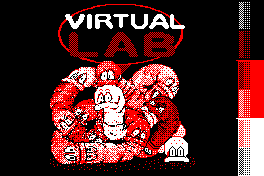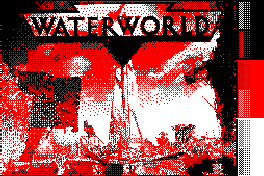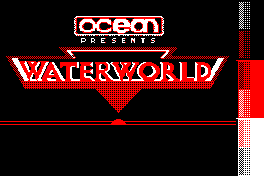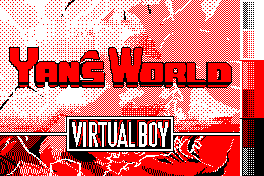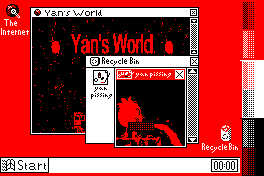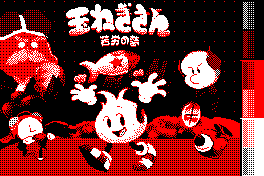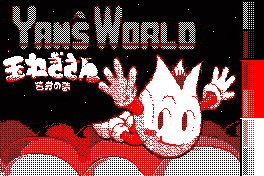
I'll mainly be trying to explain the context behind these up here, but if you're curious about the design choices behind my labels, I've written a 17 page document (which you can find here) that goes further into that aspect of my HyperFlash stuff. Before I get into what labels are, and their function, though, first I'll need to go into a bit of the background stuff regarding the HyperFlash32. Some of the information in these paragraphs, and how they're structured, will be the same on the icons page.
If a Flash Cart is a game cartridge that allows you to store one game at a time on it to play on your particular console, and a Multicart is a game cartridge that allows you to store many games at the same time, and select them individually through an on-screen menu, then the HyperFlash is somewhere in between. That is to say that like a regular Flash Cart, it can only store one game at a time, but closer to a Multicart, you can select which game to flash via a menu (the ROM files are stored on a micro sd card inserted into the cart); the difference with game selection being that it actually happens on the cart itself.
While this may seem inferior to a traditional Multicart, there is one major difference that gives it a distinct use case, which is that since it has its own screen, the cart can display customised labels depending on what game is currently flashed. Since the screen is an e-ink display as well, it will retain the image even without power.
The visible dimensions of labels vary a bit from cart to cart, but generally, the visible height is a little over 170 pixels, and the width 220 pixels. There are two versions of the cart (besides case variations): one which can display black, white, and two shades of grey, and another which can display black, white, and one shade of red.
The visible dimensions are offset to the top left of the label, and you'll be able to see a colour bar on the right as well. This was for testing purposes when the cart was in the prototyping stages for the first HF32 art contest (details
here), and can't be seen when the cart is assembled. I think I improved on the concept with the colour bar I designed for the red e-ink. While I could go into further detail about my involvement with the HyperFlash32, I don't want to flood these pages with too much context, so if you'd like more information on the HyperFlash32, I'll link you to the creator's other site:
Retro Onyx.
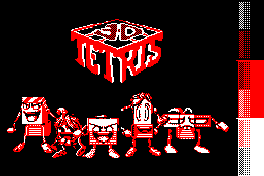
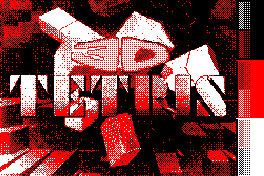
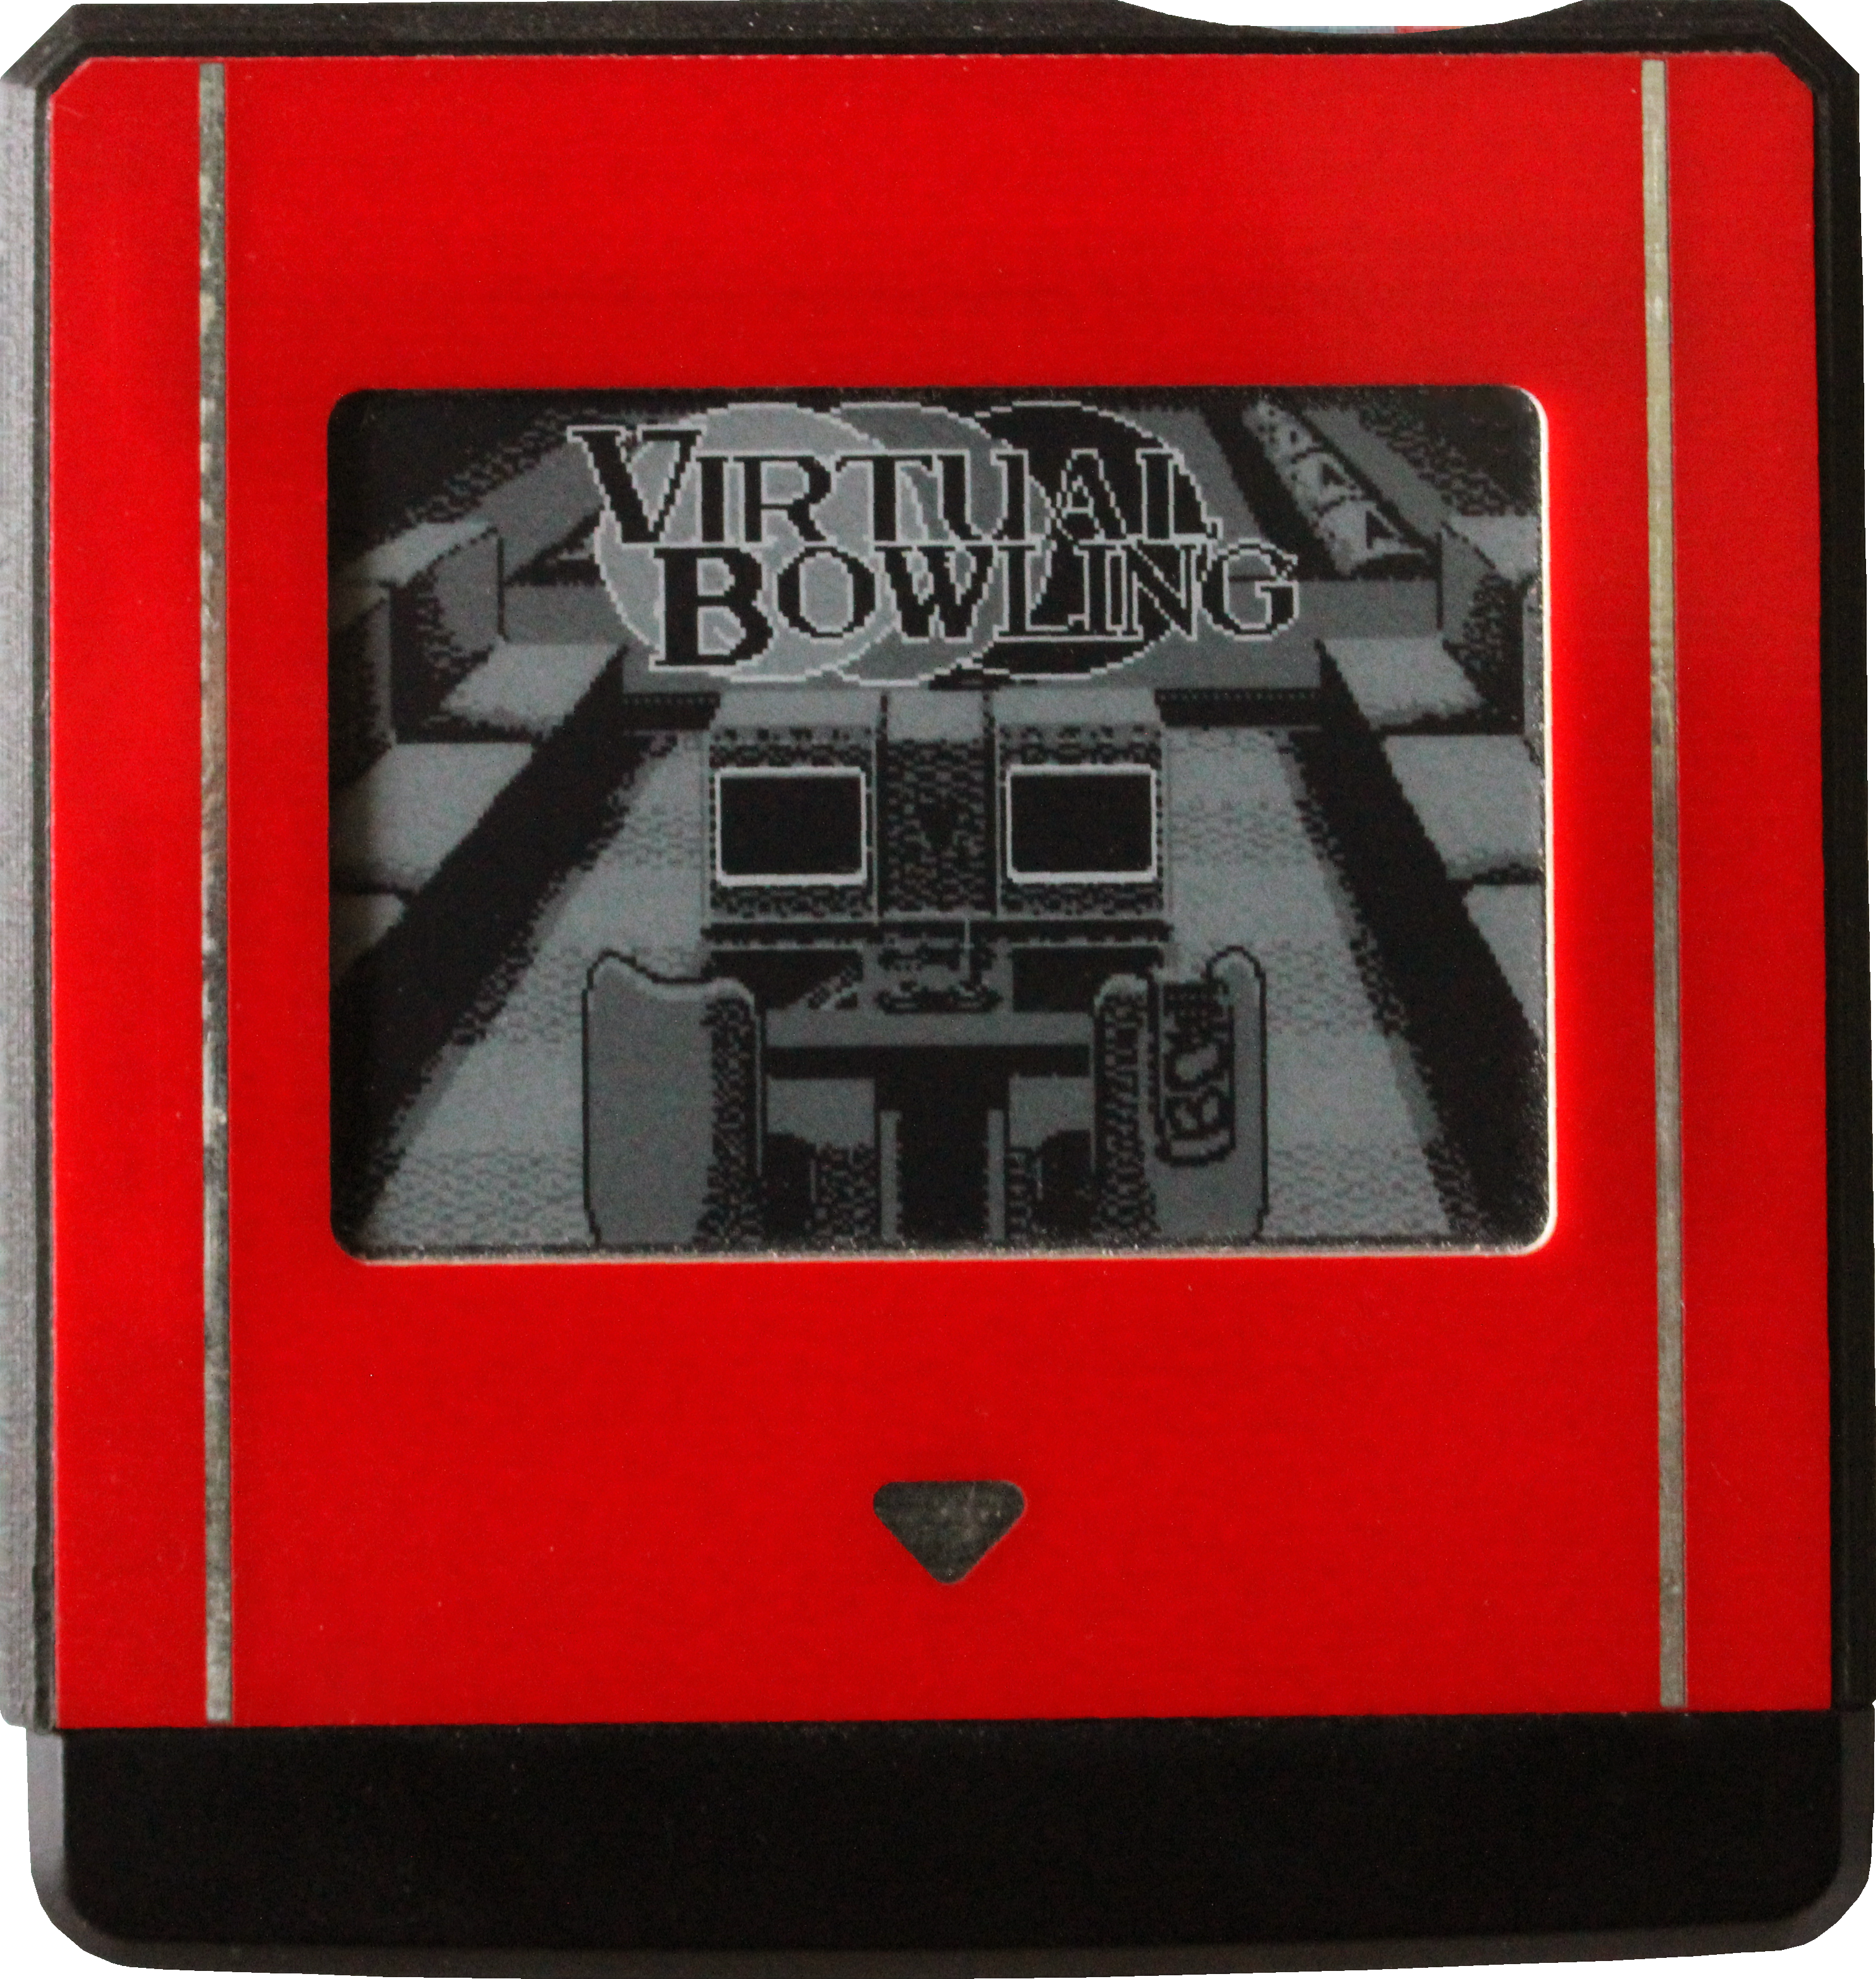
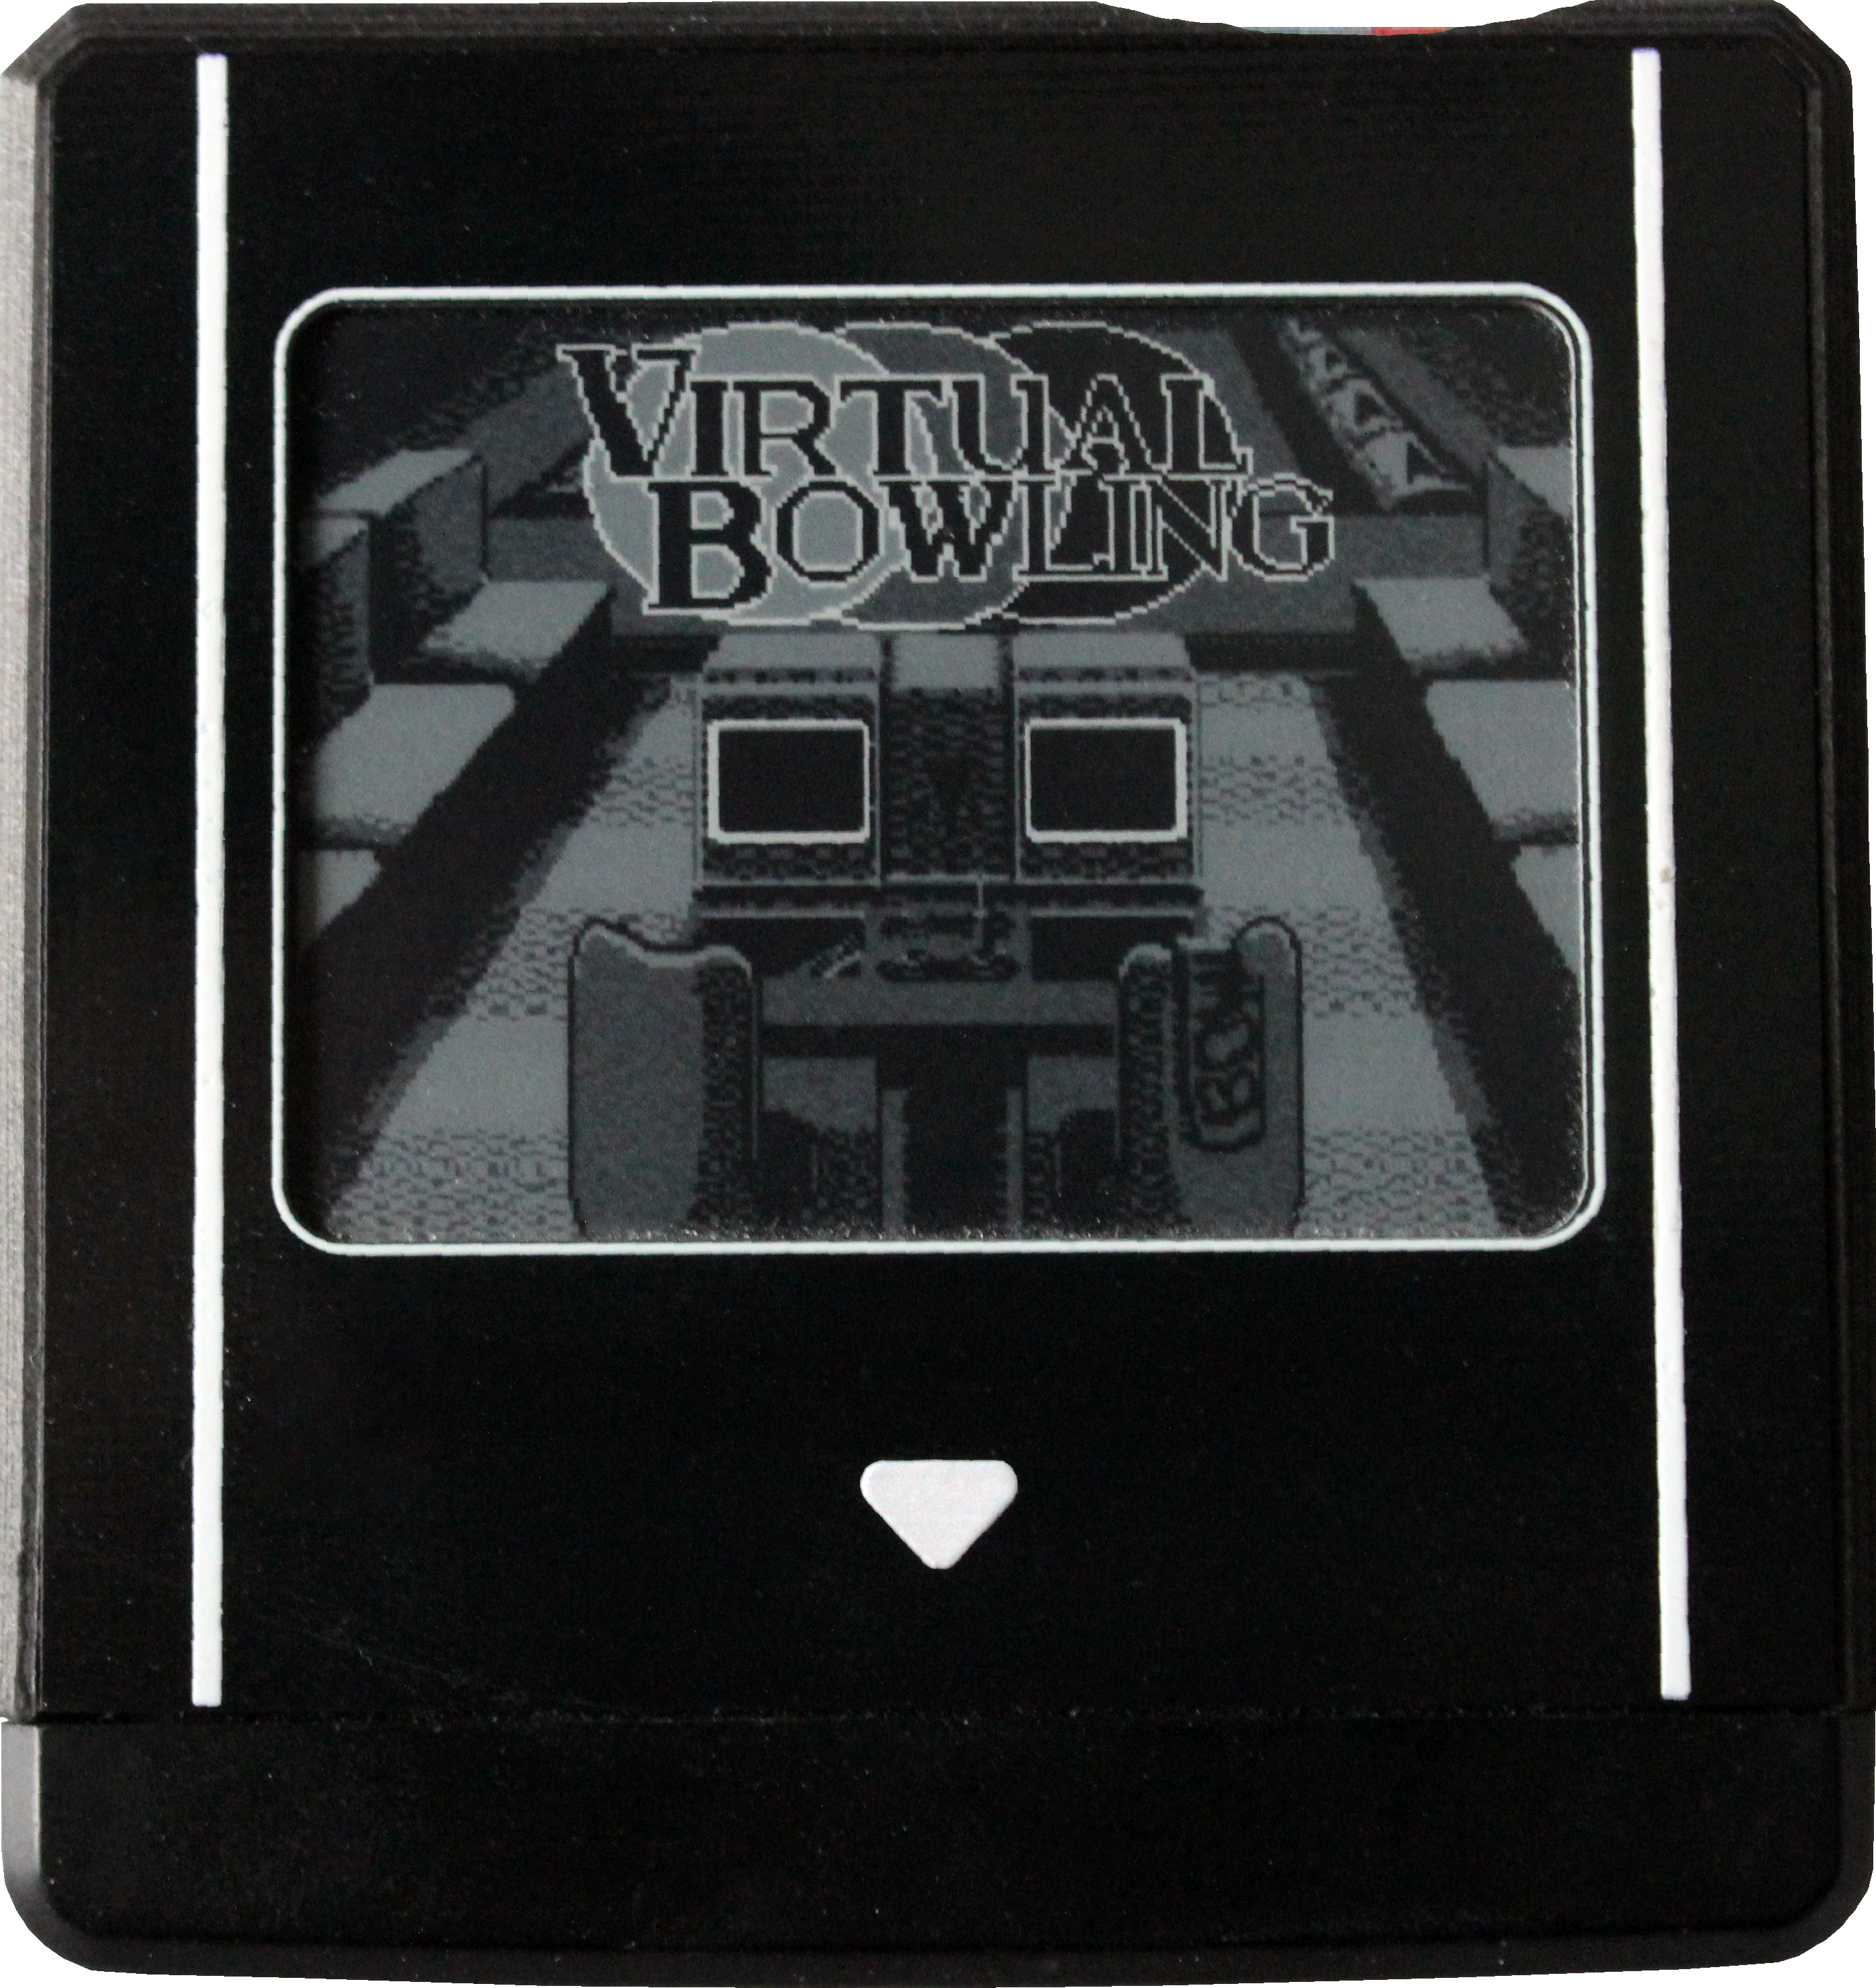
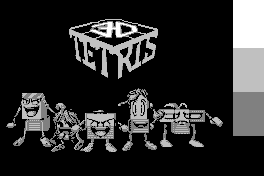
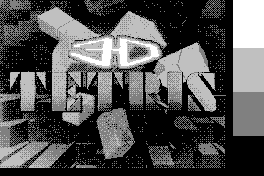
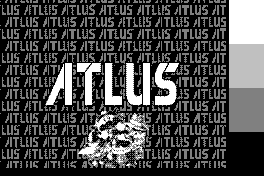
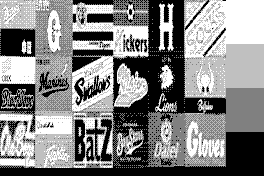
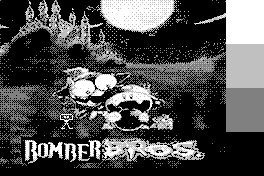
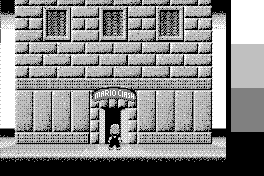
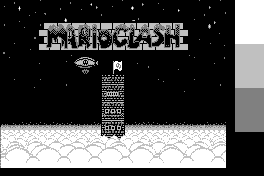
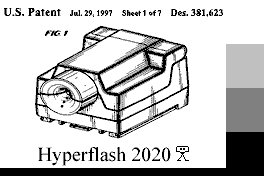
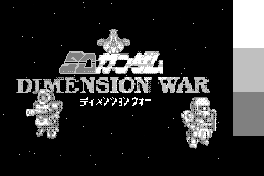
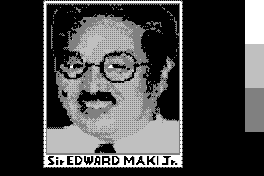
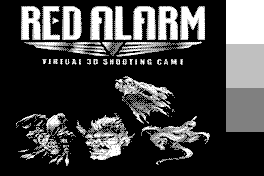
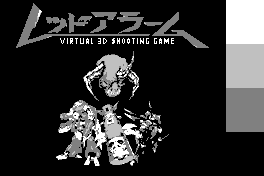
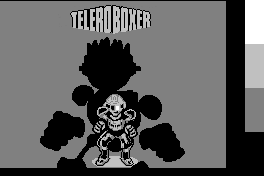
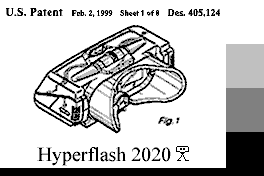
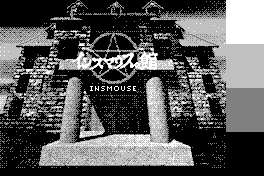
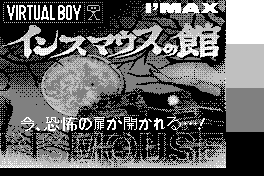
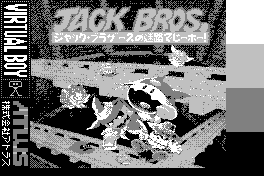
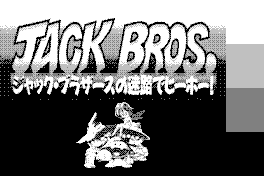
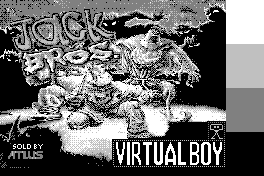
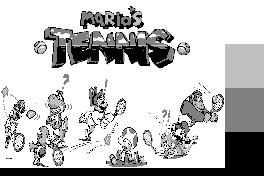
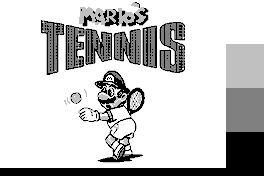
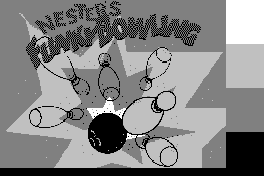
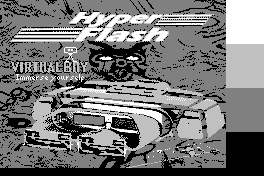
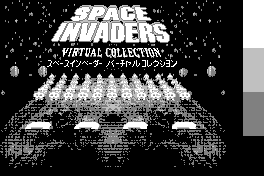
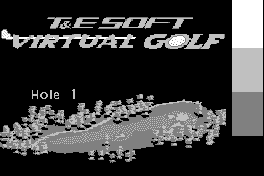
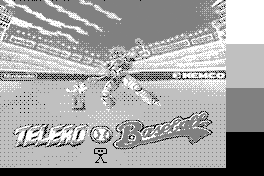
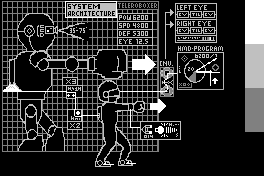
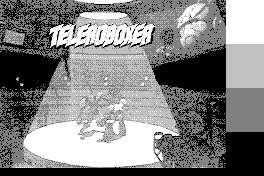
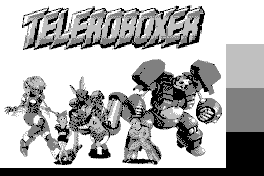
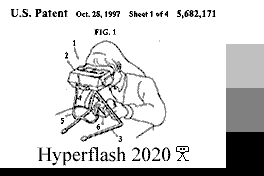
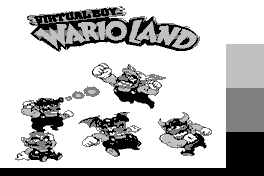
Below, you can see the label from the Preview on my two HF32 carts. This was the label that won me the contest, and the cart on the left is the prototype I won from it. The other cart is a production model given to me by Mellott for my work with icons. Finally, below that you can see the labels I've created for the HyperFlash32, and as stated on the home page, the nav-bar can be used to quickly navigate the page as well.



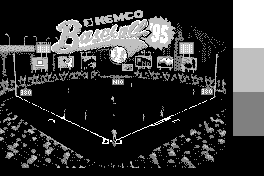
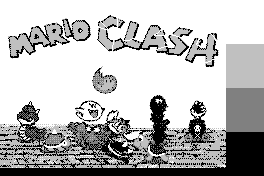
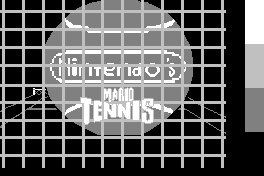
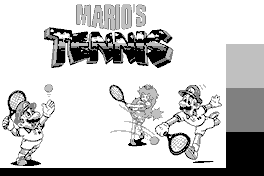
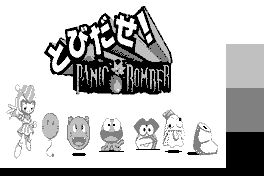
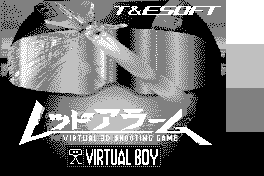
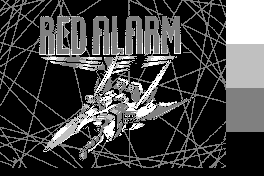
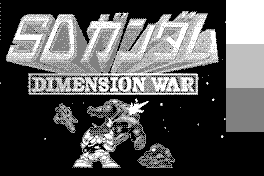
.bmp)
.bmp)
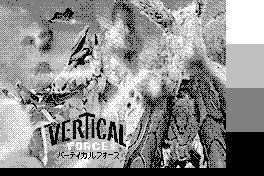
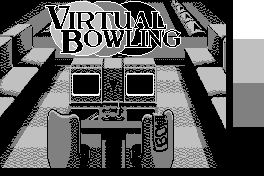
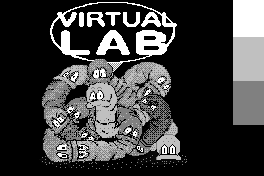
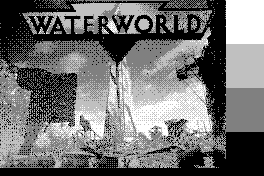
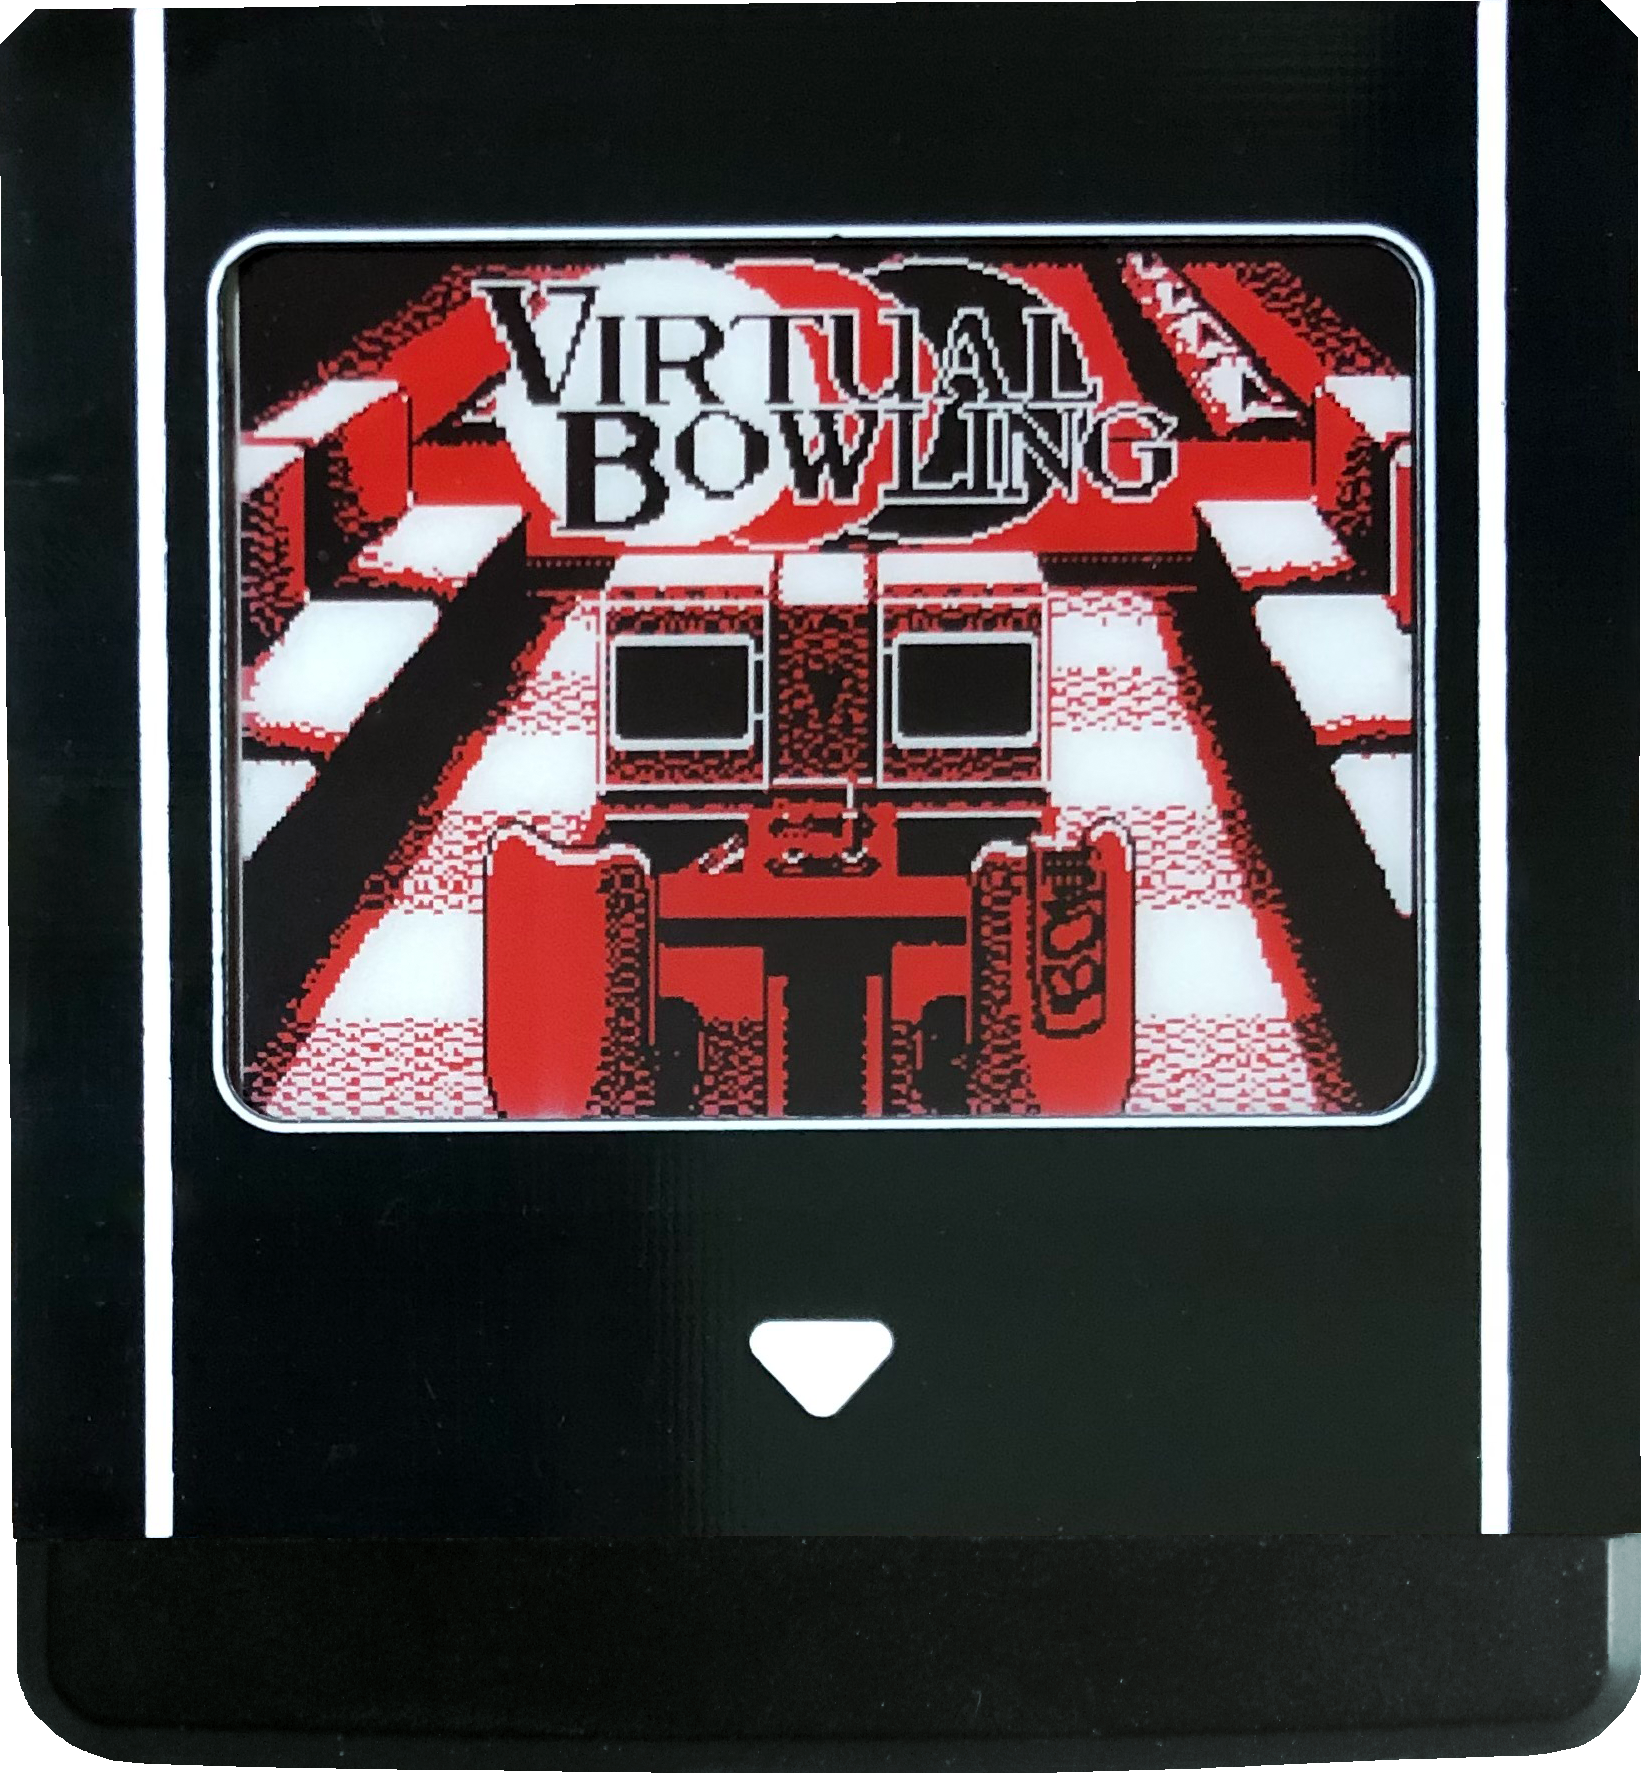
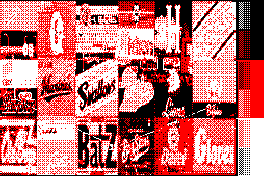
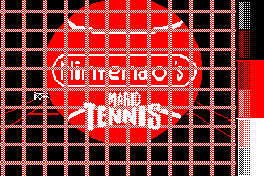
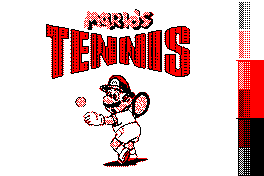
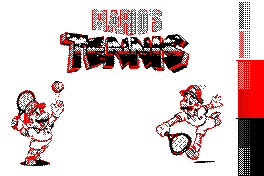
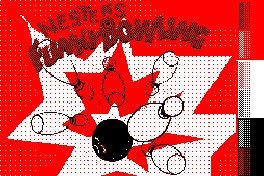
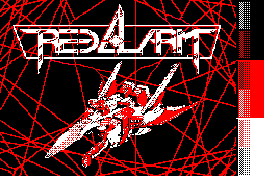
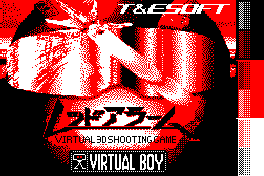
I mentioned the red e-ink screen at the top of this page, but the BWR version of the cart was an option added a while after the release of the original design. Since the BWR cart sacrifices a shade to be able to display colour, Mellott actually hosted another contest for it, as he wasn't sure how well labels would cope with the restriciton; I did participate again, but didn't win this time. All the same, I was happy with my output for it, and actually preferred working with the more limited pallette (though both screens are great in their own right). Here's the BWR version of my Virtual Bowling label on a cart (not mine, I don't have one just yet), followed by my red labels.
